Wednesday 27 March 2013

WOYWW 199


Hello again and welcome to all my visitors and new followers - thank you for coming.

There's not much going on here I'm afraid so thought I'd share with you some of the goodies I picked up at the Hobby Crafts show at the NEC last week.


I've added some more Crafter's Workshop templates to my collection - I've chosen ones which I think will work well in my art journaling. And as I can't resist anything birdy or birdgaces/houses I HAD to pick up the wooden birdcage to alter now didn't I?

Any way got to shoot off now - will catch up with you later.

Have a happy WOYWW.


Tuesday 26 March 2013

P is for ... Papillon


As you will know if you regularly drop by I am taking part in The Craft Barn Alpha Dictionary Challenge (details here) and I was thrilled to learn that my M is for Magasin pages made it on to the Wall of Fame.

Here are my pages for the current challenge which is the letter P  (for Papillon (butterfly))...


I am trying to maintain a uniform look to this altered dictionary project, so you will see continued themes throughout the pages, such as the vintage look, Antique Linen DI background, the frame stamp for the word/definition, the pointing finger stamp and a limited colour palette.

I wanted to re-create the look of a Victorian lepidopterists' collection for this page - but I must admit I didn't go as far as driving a pin through my butterflies to adhere them to the page!

Here are some detail shots...


Supplies

Stamps

Tiny frame - Studio G
Pointing finger - Pink Paislee - Phantom and Daily Junque
Butterflies and text - Cavalini and Co. and IndigoBlu (Craft Stamper freebie)
Harlequin (back again!) - from stash

Inks

Background - Distress Inks - Antique Linen, Vintage Photo
Butterflies, frame and finger Tsukinenko Versafine - Onyx Black, Distress Inks - Antique Linen, Ripe Persimmon, Gathered Twigs (applied with water brush), Dylusions - Black Marble, Cosmic Shimmer Mist - Teal Wash.

Thank you for stopping by.

Wednesday 20 March 2013

WOYWW #198


Good morning and welcome! If you're making the rounds on this wonderful Wednesday walkabout then you already know about the phenomenon that is Julia Dunnit and her marvellous invention What's On Your Workdesk? Wednesday - if not then hop over here to find out the whys and wherefores.

Once again I have a busy couple of days ahead so am scheduling this post and plan on making my return visits later - or possibly on Thursday or Friday if things get really out of hand!

In pole position on the old work table today is my entry for The Craft Barn's Dictionary Challenge (letter P for Papillon (butterfly - I'm using a French dictionary')) which I've only just started work on. The background is coming on, but I haven't decided on the focal image yet.


Elsewhere on the table is my small stamps folder (a re-purposed Shoot-Out trading card folder kindly donated by Moonshine Minor - perfect for Craft Stamper freebies and £1 stamps!),


my Distress Ink cut n dry foam storage,


and a dinner-money envelope mini book re-discovered whilst looking for butterfly themed stash (this has been a work in progress for months now and is almost finished).


I'm going to keep this short and sweet and toddle off now. Enjoy your WOYWW and I'll catch up with you soon.


Wednesday 13 March 2013

WOYWW 197 and a Cool Technique


Hello again all you wonderful WOYWWers.

Confused? Head over to Julia's place to get the head's up!

I'm actually typing this on Tuesday night and scheduling the post as I've got a busy day on Wednesday and probably won't get to any WOYWW business until late on - hope you don't mind too much!
I know I'm not going to get any crafting done tomorrow so I'll post pics of how my desk looks now - there won't be any changes - unless the Craft Fairy comes out to play during the night...


I'm currently working on a page in my Art Journal, trying to finish the page I started in class. I really had no idea where was going with this page - but it has begun to evolve - just a little more time and I'll have it!


This is a closer view of the end of the desk where all the "overflow" from my working area seems to gather. At the moment the back corner has work related stuff on it - my box of templates, a box of Cuttlebug dies and my trusty Sidekick (a freebie with a mag subscription - it is brilliant for those quick mini die cutting moments when you don't want to bring out the BIG GUNS.)


You can also see my collection of stencils/masks (I'm art journaling - it would be weird not to!), the plastic wallet contains digi image printouts which I'm collecting to use in my AJ.

The CD at the back is one of my Mother's Day presents - it is Laura Mvula's new album Sing to the Moon - I LOVE IT (it was playing whilst I was taking these pics.) and my new Copics are in the green bucket with my growing collection - Thank you to my lovely boys for my gifts and my UNIQUE card!

At my AJ class we discovered the joys of combining Dylusions ink sprays with Perfect Pearls mica powders to add great shimmer effects to backgrounds. I've tried to get some close ups but you know how it is with shimmery stuff it never looks as good on "film" as it does in real life - but hopefully these will give you an idea...

This one is the background of my journal page. The inks are Dylusions Bubblegum Pink and Squeezed Orange and the Perfect Pearls (PP) is Perfect Gold.

(Having just looked at the post preview I really recommend you click on these pics to view them full screen - you can really see that shimmer!)


The technique is simple
  1. Spritz your chosen inks next to each other on  your craft mat
  2. Using a dry brush sprinkle your chosen PPs over the inks, "puddles" of PP will give vibrant shimmer patches, "dusted" PP will give an all over shimmer
  3. Lightly mist with water to activate PP
  4. Smoosh your tag, ATC or whatever through the inks and PP until desired effect achieved, dry with a heat gun
  5. You can stamp, stencil or ghost these backgrounds as normal, although the shimmer will still show through and ghosting doesn't seem to be quite as intense (? is a ghosted image intense? I don't know and I'm too tired to think of a better word!)
Below is the tag I made in class to try out the technique, again using Bubblegum Pink and Squeezed Orange Dylusions and Perfect Gold PPs.

Additional technique for colouring stamped images
  1. Stamp image in Archival ink onto dried background (as above)
  2. Using any ink remaining on craft mat sprinkle chosen PPs on top of ink
  3. With paint brush mix PPs in to the ink to create a paste (do not add water) use this paste to paint in details as required


I loved this effect, which works particularly well with this Dyan Reaveley Further Around the Edge stamp.

Well that's all from me folks, I'm plum tuckered! Good night...


Sunday 10 March 2013

Happy Mother's Day and The Secret Project Reveal


Welcome friends - and a Happy Mother's Day to all my UK visitors.

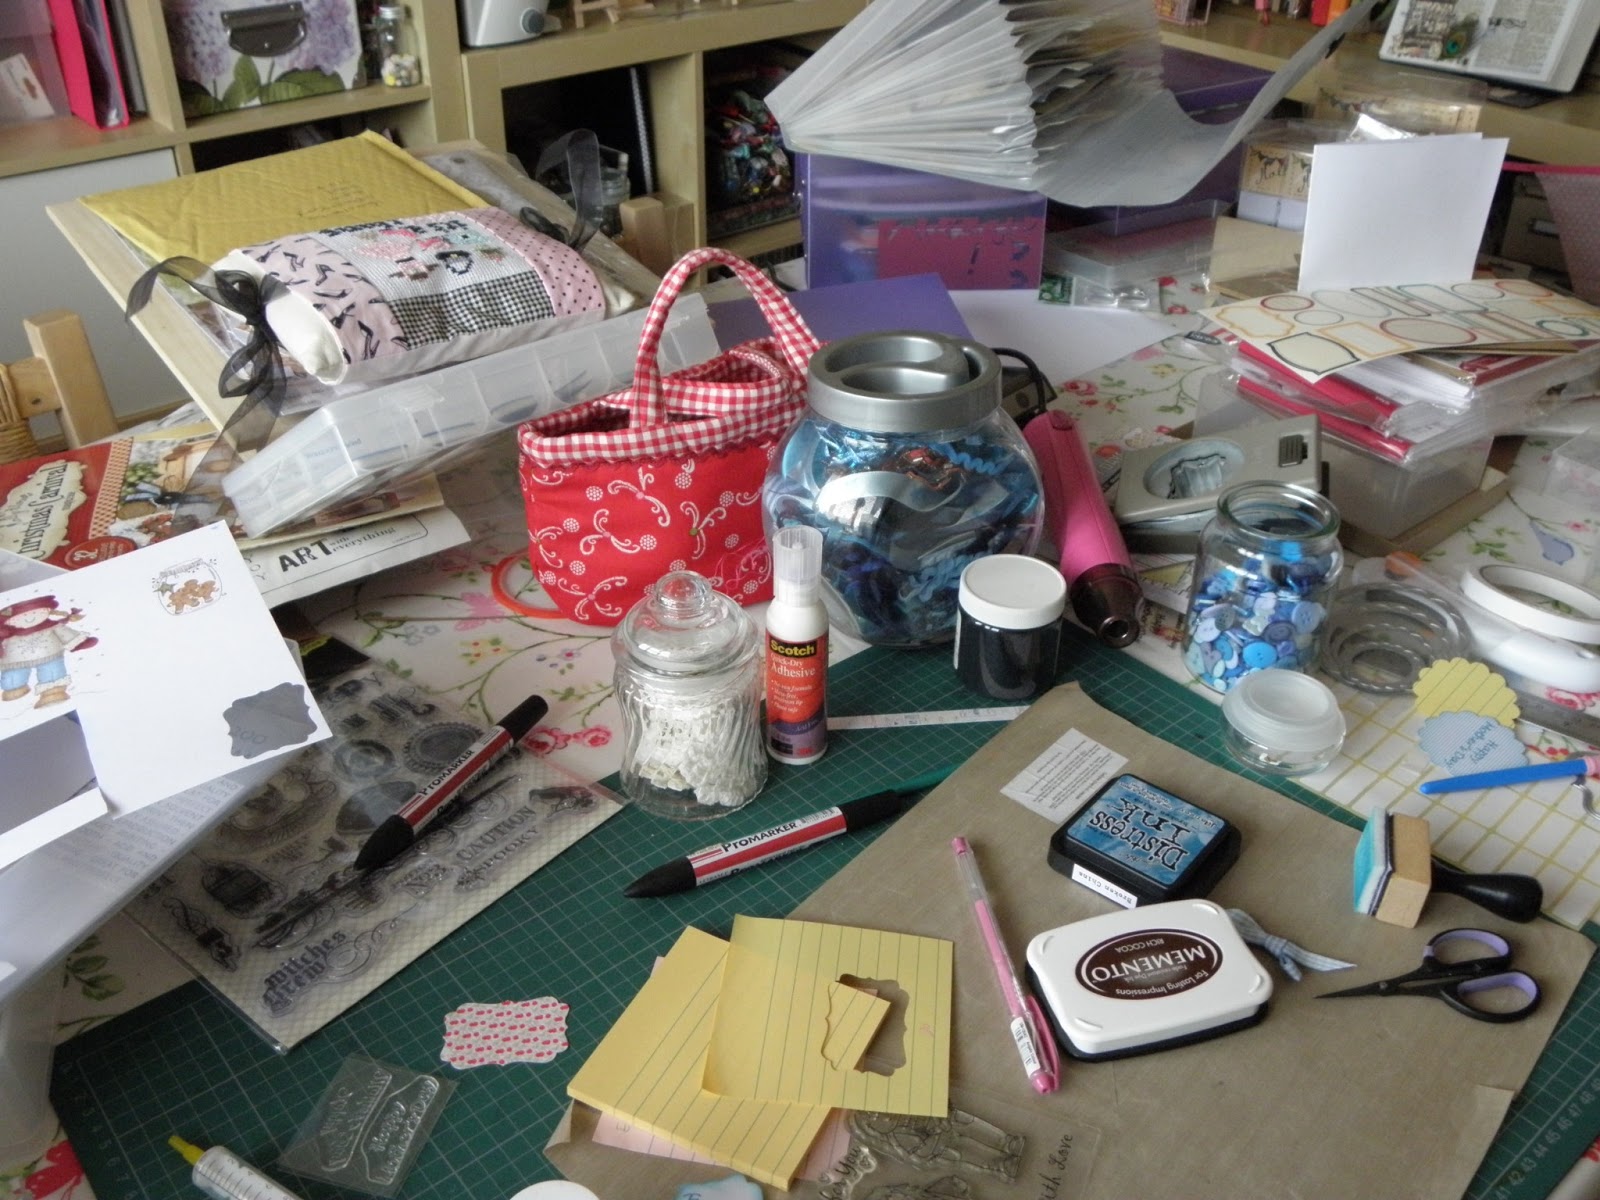
As you will know if you visited on What's on Your Workdesk? Wednesday (WOYWW) I was working on a TOP SECRET project - which was, of course, a Mother's Day card for my lovely Mum.

The card, securely packaged in a Jiffy Bag arrived in the post on Friday. By 12:00 Saturday Mum could resist temptation no longer and opened her card... NAUGHTY MUMMY!

I'm pleased to be able to report that she LOVED it! (Phew!)

Anyway I promised I would post some pics so here we go...


And some detail shots...


This is the full shot of the sneaky peek I posted on Wednesday...


The card is made from a Papermania Kraft Stepper Card - but I fiddled with the folds to make it work for my design.

I began by choosing the images I wanted to use and stamping them on super-smooth white cardstock using Memento Rich Cocoa. The images were then coloured with a mixture of Copics and Promarkers. Where I have used decoupage to give added dimension (Molly's hat, apron pockets, the tea towel, oven glove and window blind) I stamped additional images and coloured and fussy cut them out and then adhered them using PinFlair silicone glue.


TOP TIP -  when making these additional dimensional pieces bend the image around a pencil, Promarker or similar depending on the size of the piece and then apply PinFlair to the concave section and a thin smidge of very quick drying wet glue to the edges that are going to touch the background. Press these edges down with a pokey tool to get good adhesion without flattening the PinFlair glue. The pie and bowl of eggs were also curved in this way.


Having chosen the baking theme I decided to set my little scene in the kitchen, so next I cut the background papers for the "kitchen walls" and then inked the edges with Tumbled Glass DI.

The stamps are all Molly Blooms (Having seen my previous post here where I showed the results of a Colouring-In-Therapy (CIT) session, Mum has recently fallen in love with, and bought me, loads of Molly Blooms stamps  - it would have been bad form not to use them on her card wouldn't it?)

The window is made using Molly Blooms Winter Window with the snowy panes removed and a "view" made by stamping and colouring the branch section of the Honey Hive stamp on a piece of card inked with Broken China DI which was then glued to the back of the window frame. The window blind was stamped on to patterned paper, cut out and adhered using PinFlair silicone glue.

The sentiment was stamped in Memento Rich Cocoa on to a Tim Holtz Alterations Tattered Banners die cut.

Supplies

Patterned Paper - Papermania Happy Days 6"x6" designerstax


Stamps - Molly Blooms unless stated otherwise

Winter Window Inside - MB0045 H
Farmhouse Kitchen Shelf - MB0090 F
Molly the Chef - MB0108 I
Apple Pie - MB0109 C
Milk and Eggs - MB0089 E
Honey Hive - MB0246 F

Sentiment - Personal Impressions - Cute Characters Set 2

Inks

Distress Inks - Tumbled Glass, Broken China
Memento - Rich Cocoa

Markers used are as follows

Window Frame, Farmhouse Shelf, branches and brown eggs - Copics E31, E33, E35
Molly's Jeans, egg bowl and pie plate and oven gloves Promarkers B119 Powder Blue, C917 Denim Blue
Blue hearts - Promarker V234 Indigo Blue
Molly's Blouse and cheeks and pale checks on tea towel - Copics RV10, R20
Leaves and drawer knobs - Copics YG93, YG97
Molly's Apron, Hat and white eggs - Copics E40, E41, E43
Flesh colours - Copics E0000, E00, E01,
Red heart and red checks on tea towel - Promarkers R455 Ruby, R244 Cardinal Red
Pie crust - Copics E31, E33, E35 and Promarker O555 Gold
Freckles, highlights and spots are all white gel pen


This was such a fun project - apart from the CIT - which is always good, I really enjoyed putting together various elements of different stamps to make a "unique" scene. 

Molly Blooms has new stamps coming out (hopefully this month) so I'm sure there will be more CIT sessions in my craft room soon!

It only remains for me to say. Thanks for the stamps Mum, have a very happy Mother's Day - I love you.


Thursday 7 March 2013

M is for ... Magasin


Hello again!

I'm taking part in the Dictionary Challenge over at The Craft Barn you can find details here if you want to play along. This weeks challenge is letter M but only words from Ma to Me - a cunning twist to stop people cheating! I'm using an old French-English dictionary - so my word for this week is Magasin which means shop.

Here are my pages... (remember you can click on the photos to look at them in more detail)


and here are some detail shots...


As soon as I decided on using the word Magasin I knew I wanted to use the fabulous Graphic 45 Olde Curiosity Shoppe papers and then find some stamps or images to provide additional curious "stock" for my gorgeous fantasy shop.  I had a really fun time going through my stash to find interesting stamps and rub-ons for embellishments and, of course, what would an old curiosity shop be without a  genuine flying pig?


You can just about see the acetate flying mechanism, top right in this shot...


If you look really closely at these two pictures (above and below) you can just about see the large clock face stamped on the background. It is coming from behind the left hand edge of the portrait of the Bee Lady and curving round over the fish. (I wanted to have lots of layers of interest on the page, but as this layout is in a book which needs to be close-able, I can't build up too much dimension) 


I love the dresser crammed with curios in the Graphic 45 paper and have added
  • a penny farthing
  • a fish
  • a toy boat
  • an hour glass
  • a weather vane
can you spot them?


At the bottom of the next shot you can just see the alphabet washi tape I have used to "ground" the images


Hidden behind the peacock feather is a birdcage, a bicycle and a compass (you can see these better if you click on the first photo to enlarge it).

Supplies

Patterned paper

Graphic 45 Olde Curiosity Shoppe 6x6 stack

Inks

Distress Inks - Antique Linen (background inking applied with inking tool and clock face stamped behind dresser), Gathered Twigs (toy boat, hour glass, fish, compass and bicycle) Shabby Shutters (colouring on toy boat) Stormy Skies and Weathered Wood (colouring on fish)

Tsukineko Versafine - Onyx Black (bird cages, chandelier, tiny frame, pointing finger)

Stamps

Tiny frame - Studio G
Pointing finger, owl cage and chandelier - Pink Paislee - Phantom
Large clock face - Kanban
Compass - Prima #555023
Bicycle - Royal and Langnickel - Journey stamps
Standing birdcage - cArt-us - Birds with cage
Hour glass, fish and toy boat - A la Maison - Billy Bosun's 13 Stamps and Stationery of the Deep Blue Sea

Rub-ons

Bee Lady's bee - 7 Gypsies - Rubbings - Element Fragments
Weather Vane - Royal and Langnickel - Home Collage

Other

Penny Farthing, Peacock feather, washi tape - from stash
PinFlair silicone glue

Top Tip

Rub-ons and flimsy dictionary paper are not best friends! - The dresser is strategically placed over an "oops" where the adhesive on the rub-on has lifted the surface off the paper - you have been warned! ;0)

I REALLY REALLY REALLY enjoyed doing these pages (can you tell?) I hope you like them too.

Oh and regular visitors please note the complete absence of my tiny Harlequin stamp (I had a bit of a twitch but I stayed strong!!!)

TTFN


Wednesday 6 March 2013

WOYWW 196 - Just a Quickie (With Update)


Happy WOYWW to you all, and a warm welcome to my new followers, thank you for taking the time to follow my little old crafty ramblings. And thank you also for the lovely comments on my lace flower tutorial - they were very much appreciated.

If you're new to WOYWW and want to know more, go to Julia's blog here for all the details. You'll be glad you did!

I've got to be very quick today as I am in the middle of a
TOP SECRET project - so if you happen to be my lovely Mum DO NOT look too closely at the photo!

Anyhoo this is what my not very enthralling desk looks like today...


(As I am typing this the postman has just delivered some  HAPPY POST!! Namely some Copics which my darling Mini Moonshines have bought me for Mother's Day. I am going to be good and not play with them until Sunday though!)

...Back to the task in hand - my desk has the makings of a card (I don't make many cards - but this one is special - I'll show you after it has been received), some stamps left over from my Craft Barn Dictionary Challenge (which is hiding behind the sweet little red bag in which I carry my ProMarkers to my local crop) and which I'll try and post tomorrow, apart from that - nothing much to report - just boxes of stuff which need to be put away.

Going to post my link now and hope to catch up on my visits later tonight - in the mean time, have a happy WOYWW!

UPDATE

The picture above was taken at about 11:00 this morning - just thought you might like to see the damage wreaked by Hurricane Mother's Day... (taken at 15:00)


and a sneaky peek...


P.S. Two people have already asked so I'll fill you in - the syringe is for applying PinFlair silicone glue - it does a good job but I'm afraid it's not very exciting!


Related Posts Plugin for WordPress, Blogger...